I have already written " How to show only specific number of posts on Labels Page ". Today I am going to tell How to Show Only Labels with specific number of posts. This hack is very useful for those who have plenty of Labels in their Blog. It's a very simple hack , just follow the below steps to implement this hack in your blog.
Step 1 : Login to your Blogger Account and go to Layout section of your Blog.
If you don't have any Labels widget then add it by clicking ADD Page ELEMENT link in the Page. Then navigate to EDIT HTML subtab and Check EXPAND WIDGETS box.
Step 2 :
Now search for this Line.
<b:widget id='Label1' locked='false' title='Labels' type='Label'>
Now below this line , you will find this code
<b:loop values='data:labels' var='label'>
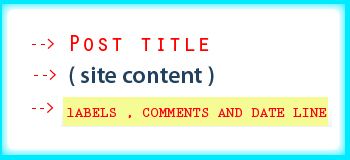
<li>
<b:if cond='data:blog.url == data:label.url'>
<data:label.name/>
<b:else/>
<a expr:href='data:label.url'><data:label.name/></a>
</b:if>
(<data:label.count/>)
</li>
</b:loop>
Now replace the above code with the following code.
var labelnum = 0;
<b:loop values='data:labels' var='label'>
if (<data:label.count/> > 2) {
document.write("<li><a expr:href='data:label.url + "?max-results=5"'
rel='nofollow'><span><data:label.name/></span></a>(<data:label.count/>)</li>");
}
</b:loop>
</script>
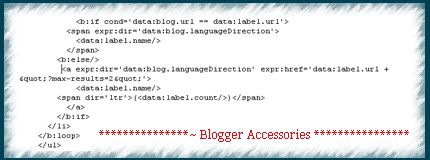
It should look like this
In the above script edit the text in green to show Labels which contains more than text in Green.
for example : I have chosen number 2 , then Labels which contains more than 2 posts will be shown and other labels will be hidden.
Edit the text in red to show only specific number of posts in Labels Page.
That's it , you have successfully implemented the "Show Labels with specific number of Posts " hack in your blog.
If you have any problem , let me know.


 .
.


To include the comment Form please Login to draft.blogger.com and go to settings tab and then navigate to comments subtab. there put a check on " Embed comment form below Post ". That's it.
read more here " Embed Comment Form Below Post ".